|
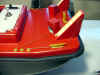
Introducing the new Topless
Vac-U-Tow. If you want to build you own
structures on a pre-made hull here's your chance. Check out more info on the Topless
Vac-U-Tow at
http://www.vac-u-boat.com:80/Vac-U-TowTopless.htm
Kits can be bought from Vac-U-Boat
http://www.vac-u-boat.com/KitsParts.htm
Vac-U-Boat's tow knees and the stacks can be used
when building a boat .
Building a
modern towboat with kit 202 (Click
on thumbnail to view larger image) The
material I will be building with is 1/8" x 4" basswood for the decks
and 1/16" acrylic plastic for the cabins. The
build process is the technique that I'm used to using. Many modelers have
different ways they find easier
and prefer different materials. This build is just a guide to help the novice
scratch-builder get an idea
of where to start. The kit comes with
step by step instructions on installing running gear. Hope your project is fun and have you building for many years
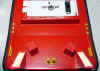
to come. 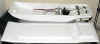 Here's what comes with the topless kit. Not shown is stack, tow knees, and
rubber deck seal strip.
Here's what comes with the topless kit. Not shown is stack, tow knees, and
rubber deck seal strip.
I
have already installed the rudders, shafts, and servo. It comes with
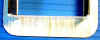
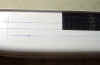
instructions on how to install the running gear. 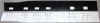 The first thing was to cut the main cabin sides and mask the windows. Paint
the inside black to black out the windows. Image shows masking and marking
the windows then top part shows removing masking and leaving windows masked.
The first thing was to cut the main cabin sides and mask the windows. Paint
the inside black to black out the windows. Image shows masking and marking
the windows then top part shows removing masking and leaving windows masked.
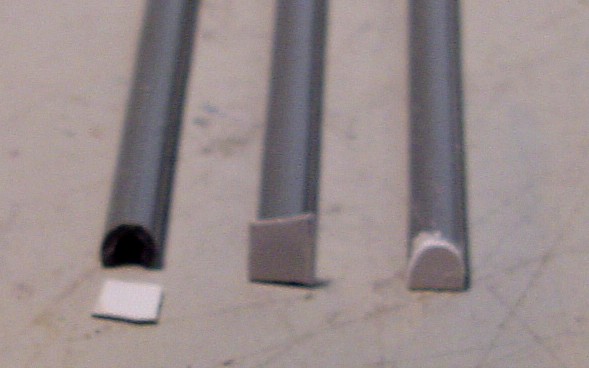
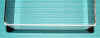
 Here is a way to curve the corners. I used Plastruct HP
12 half round profile tubing. It's 1/2" wide. After cutting the length for
the height of the cabin, split the tubing in half and glue on each corner as in
photo. you need to shorten the front wall by one scale foot to allow the
corners to equal the right width.
Here is a way to curve the corners. I used Plastruct HP
12 half round profile tubing. It's 1/2" wide. After cutting the length for
the height of the cabin, split the tubing in half and glue on each corner as in
photo. you need to shorten the front wall by one scale foot to allow the
corners to equal the right width.
 Here's a top view showing how it makes round corners. I glue everything
together with CA glue and then reinforce the corners with epoxy.
Here's a top view showing how it makes round corners. I glue everything
together with CA glue and then reinforce the corners with epoxy.
 Here's another corner rounding technique using Plastruct MRQ-125 3.2mm
quarter round.
Here's another corner rounding technique using Plastruct MRQ-125 3.2mm
quarter round.
For more info on constructing cabins go to
construction page 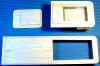 Using basswood cut out the decks for second deck, third deck, riser for pilot
house and roof. Next mark your cabins at their location on the deck and cut out
the inside to save weight. Next step was to glue the upper cabin onto the second
deck and the pilot house onto the third deck. For gluing basswood I prefer
Titebond weatherproof wood glue and for gluing the plastic cabin to basswood I
have good results with regular Testor's plastic cement.
Using basswood cut out the decks for second deck, third deck, riser for pilot
house and roof. Next mark your cabins at their location on the deck and cut out
the inside to save weight. Next step was to glue the upper cabin onto the second
deck and the pilot house onto the third deck. For gluing basswood I prefer
Titebond weatherproof wood glue and for gluing the plastic cabin to basswood I
have good results with regular Testor's plastic cement.
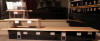 Here's how it all looks stacked on top of each other. For door
frames I used Evergreen H-O scale 4" x 4"styrene strips. You have two
options on mounting the main structure. I chose to glue it to the bottom of the
2nd deck. If you worry about large waves you can glue the main cabin to
the main deck to make it wave tight and make 2nd deck removable. Notice
the small holes in the doors. I'll be using the heads of straight pins as door
knobs. Here's how it all looks stacked on top of each other. For door
frames I used Evergreen H-O scale 4" x 4"styrene strips. You have two
options on mounting the main structure. I chose to glue it to the bottom of the
2nd deck. If you worry about large waves you can glue the main cabin to
the main deck to make it wave tight and make 2nd deck removable. Notice
the small holes in the doors. I'll be using the heads of straight pins as door
knobs.  To
add more realism to the hull, we need engine coolers. Skin coolers are the
simplest to make. They are just half round pipes welded onto the hull. I used
Plastruct 90171 (3/16" half round). I cut the ends at 45 degree angle
and cut in scale 40' lengths. I then sealed the ends with a piece of plastic
sign stock. To
add more realism to the hull, we need engine coolers. Skin coolers are the
simplest to make. They are just half round pipes welded onto the hull. I used
Plastruct 90171 (3/16" half round). I cut the ends at 45 degree angle
and cut in scale 40' lengths. I then sealed the ends with a piece of plastic
sign stock.
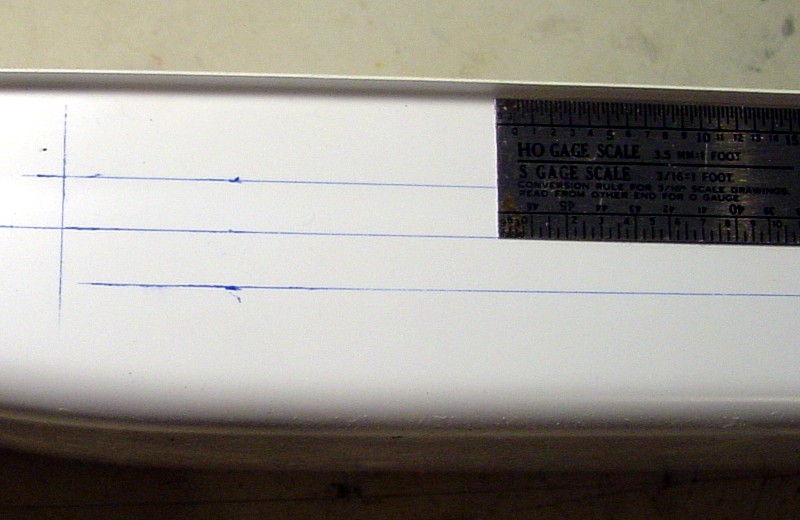
 To
mark off the hull, take a scale model railroad rule and hold to the upper lip
of the hull and mark a line. Next make two more line a scale 1 1/2' above and
below that line. Here is where we'll locate three cooler lines on both sides of
the hull. Glue the top edge of the cooler line to the line on the hull. Be sure
to mark a vertical line on the hull for the starting point of each cooler line. To
mark off the hull, take a scale model railroad rule and hold to the upper lip
of the hull and mark a line. Next make two more line a scale 1 1/2' above and
below that line. Here is where we'll locate three cooler lines on both sides of
the hull. Glue the top edge of the cooler line to the line on the hull. Be sure
to mark a vertical line on the hull for the starting point of each cooler line.
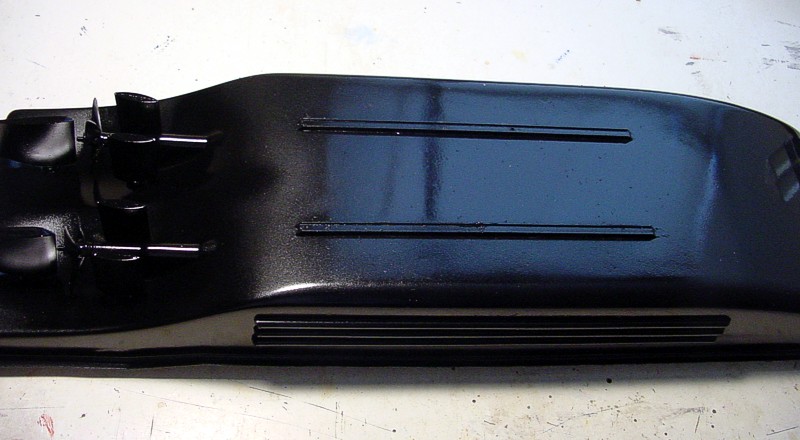
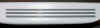 Here's
what it looks like with three cooler lines on the hull. Be sure to do the same
on the other side. Here's
what it looks like with three cooler lines on the hull. Be sure to do the same
on the other side.
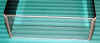
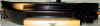 Here's
what the coolers look like once the hull is painted. Here's
what the coolers look like once the hull is painted.
 Here's
what I do with all towboats. I put skids on the bottom to prevent wear on the
hull when moving model on table. Here's
what I do with all towboats. I put skids on the bottom to prevent wear on the
hull when moving model on table.
 Before
installing deck, install strips of Before
installing deck, install strips of
bass
wood to give the cavils something to
secure to. 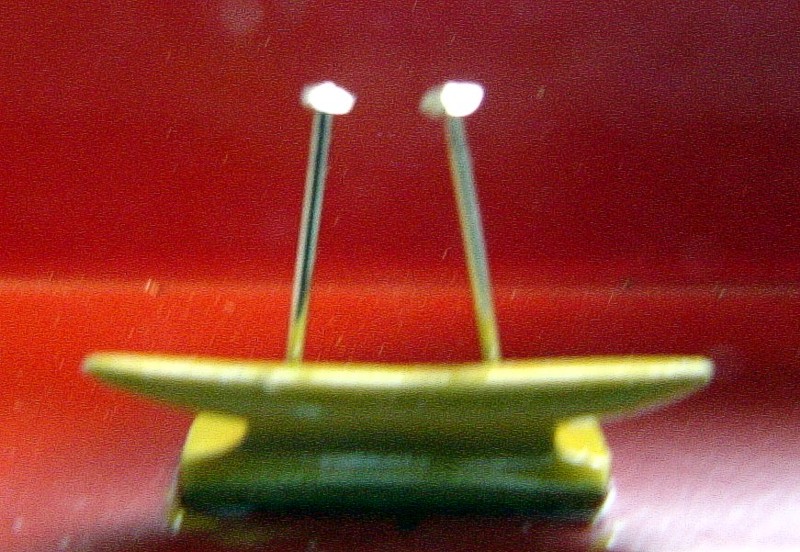 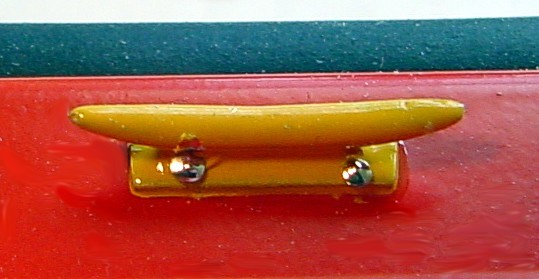 I
epoxied the cavils to the deck and then ran I
epoxied the cavils to the deck and then ran
straight
pins at an angle through holes drilled into
each cavil. That gives it more strength and
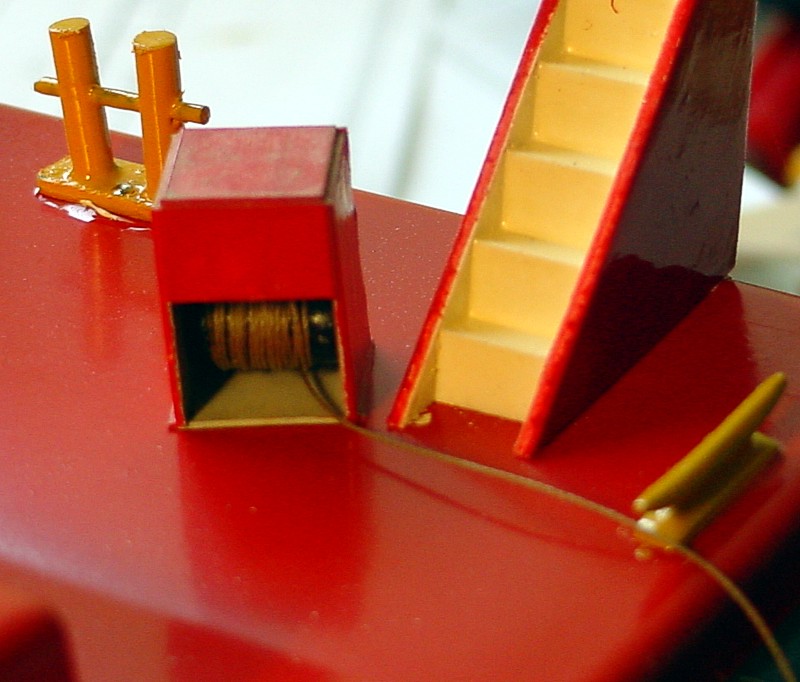
allows a line to be attached. 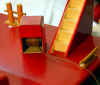 Here's a simple winch with making a square box and dowel rod for drum.
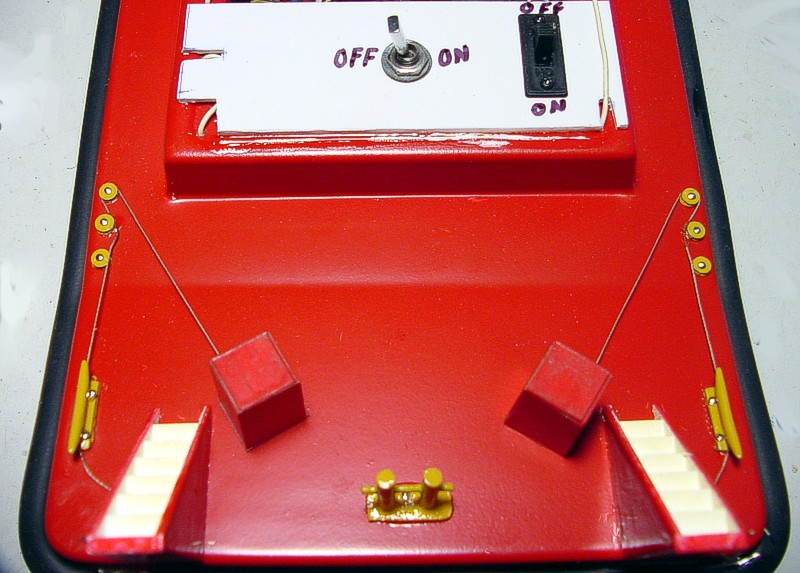
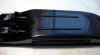
 Here's the layout of the roller chocks. Notice how the winch wire is run.
 Here's how I mounted my switches for receiver and main batteries.
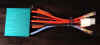  I'm
using a Proboat waterproof electronic speed control for both motors. I'm
using a Proboat waterproof electronic speed control for both motors.
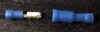
Use
bullet connectors to make two "Y" connectors to connect both motors
together. More
to come slowly, but surely. |