
|
|
|
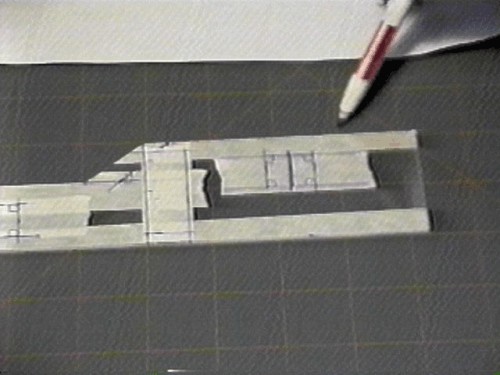
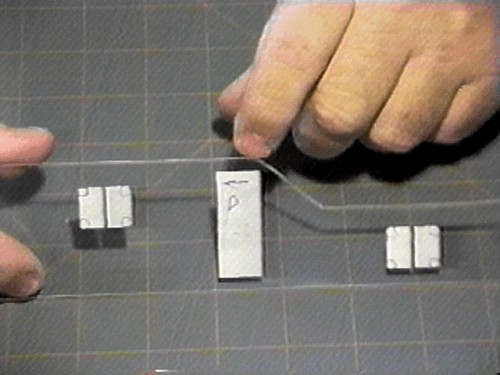
Building superstructures from acrylic plastic I've been working on faster and cheaper ways to scratch build model boats. One of my most popular methods is the "prefab" windows and doors technique I developed using clear 1/16" acrylic plastic. Most clear plastic comes with a film on it to protect it from scratching. It's important to leave this on till ready to glue structures together. I usually mask off the plastic over top the film, but sometimes the film keeps coming off. In that case I remove the film and put masking tape on both sides of the plastic to avoid scratches. Then I cut out the walls for the cabin superstructure. While I'm cutting the walls out I mark them to make sure I know which wall goes where. When all the walls have been cut out I proceed to use a scale ruler and pen to mark off all my window and door locations making sure everything is square. After marking off all doors and windows I go back and double check all the locations making sure everything is correct. Next I use an x-acto knife with a #11 blade and a metal straight edge to scribe around the frames of the windows and doors. If the window has a horizontal or vertical post I usually scribe a line spaced a little bit apart to each side of the post line. Then I remove the little strip of tape and when it is painted it created the center post of the window.
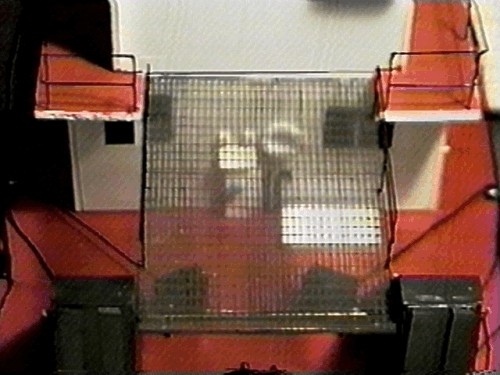
Here shows the technique of masking off a door for the opened effect. If you don't plan on detailing the area open to the door, then paint the inside of the door opening black. Notice the tape on the center post of the window cut out.
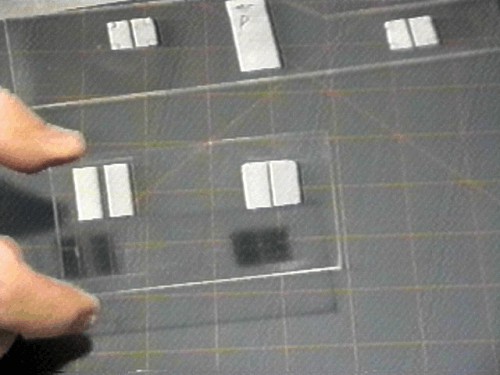
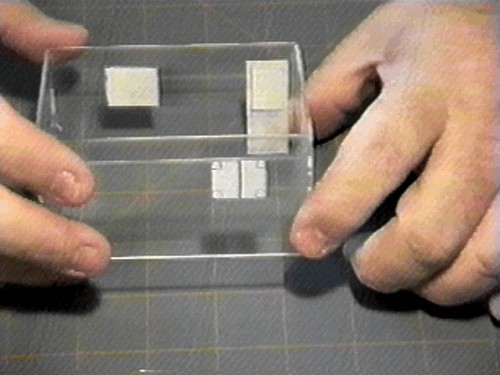
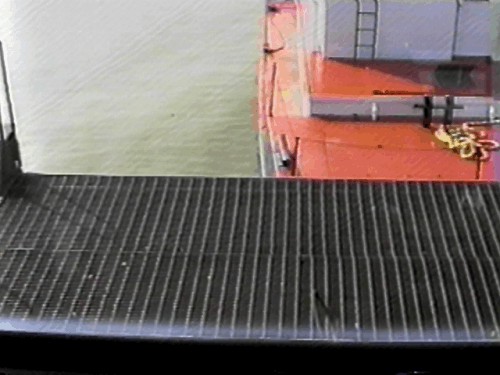
To remove tape adhesive for structure prior to painting, use mineral spirits. It works very well. After the paint has dried and masking tape removed from windows and doors, I use mineral spirits with Q-tips to remove any adhesive. Be careful not to rub the paint off around windows and doors. When painting structures, make sure it's masked off to keep over spray from getting on the inside of the window and door openings. Of course you don't have to worry about that if you have blacked them out. Building a fleet deck with acrylic plastic
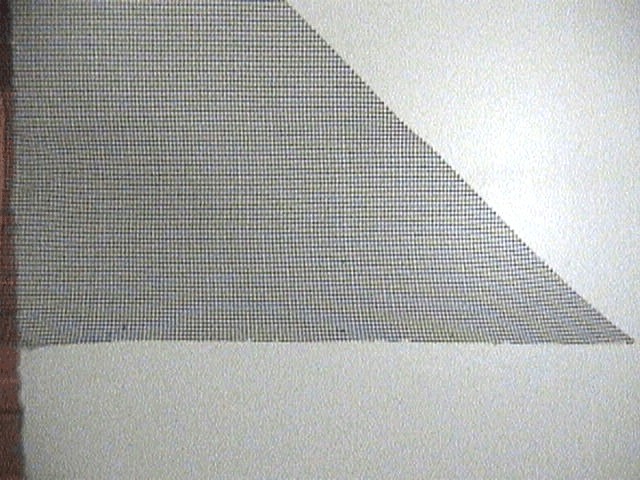
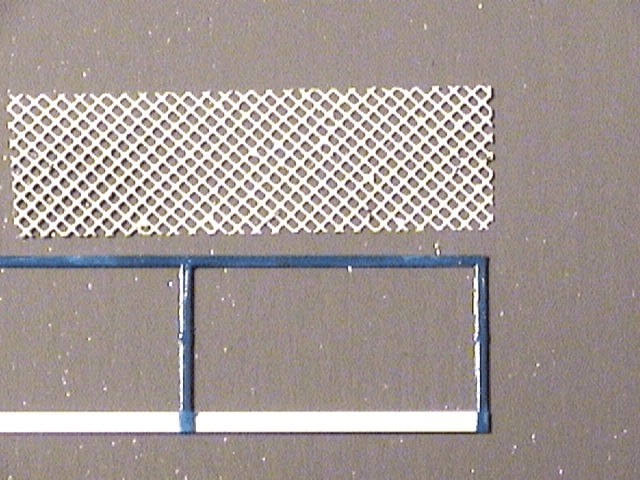
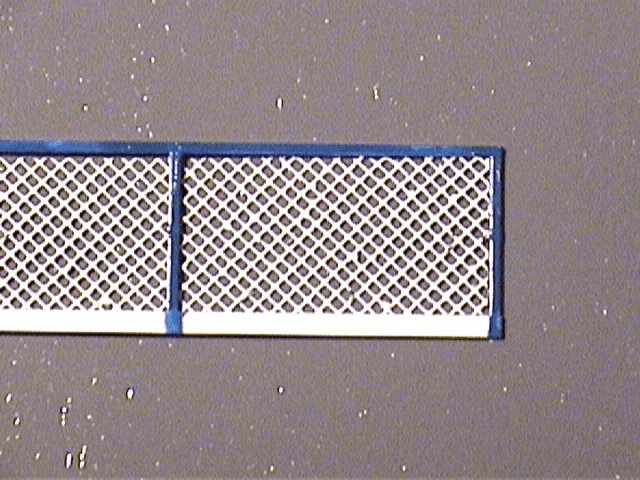
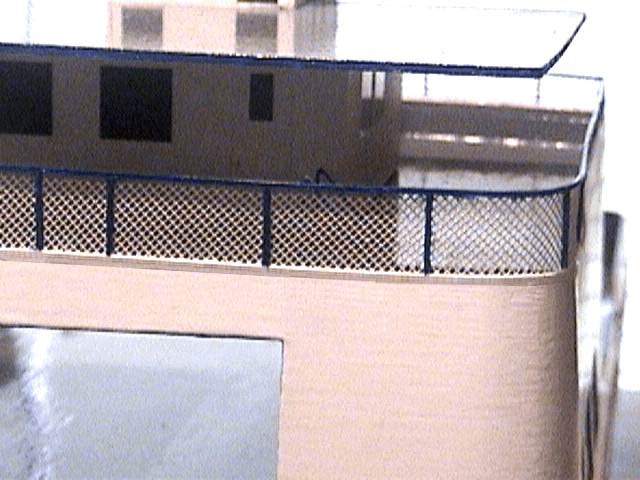
Making handrail mesh Make handrail mesh from nylon screen for doors. Just cut in lengths with the holes making a diamond shape, paint and glue in place. The same can be done for smaller scales using pantyhose. Photos below show how easy it is to do.
Note; Pantyhose is also good for making screen doors. Tips for working with plastic When heat forming plastic, adjust the oven between 200 & 350 degrees To remove scratches from plastic use a muslin buff with a diamond or plastic compound. Be careful not to cause heat build up. To smooth edges use a file then scrape with a flat edge of steel. A hacksaw blade is useful. To simulate rusted metal. Paint with light earth and add Tuscan in places. Streak the paint with a brush and thinner. Next rub in some dirt and spot some places with thinner. How about a fire monitor? If you tow barges with flammable cargo you need to have a fire monitor for emergencies. With some brass or copper tubing and some careful soldering, the fire monitor could be made operational. Most fire monitors are mounted next to the pilot house for fast access though I have seen some mounted in the middle of the fleet deck. The photo here shows the 4" supply pipe elbows into the cabin just below the deck. Some, as in the fleet deck arrangement, run straight down through the main deck.
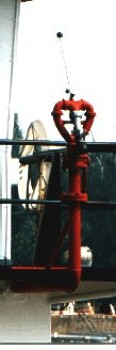
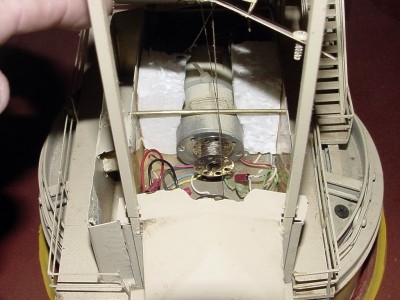
Operating crane
In the photo you see the tackle winch. Barely visible is the winch drum for the boom. The winch motor is nestled in the cabin area at bottom of screen.
This is all you'll need with an "A" frame type crane. With other type cranes, you'll need a motor to turn the crane cab. For that you'll need a geared motor that turns about 1 to 5 rpm.
|


 I have been
asked, "How do I make the boom and tackle operate on
the crane?" It's really a simple technique. I use a 24
rpm geared motor for the winch with a sewing
machine bobbin epoxied to the shaft for the cable drum. It takes
one unit for the boom and one for the tackle.
I have been
asked, "How do I make the boom and tackle operate on
the crane?" It's really a simple technique. I use a 24
rpm geared motor for the winch with a sewing
machine bobbin epoxied to the shaft for the cable drum. It takes
one unit for the boom and one for the tackle. This diagram shows how the switch is wired and tripped with a servo. Use a
double pole, double throw, momentary on,
center off switch. You need a momentary on so when the servo is released
the switch will return to it's center off position. Use an "X" arm on
the servo centered with the switch so that when you throw the joystick in one
direction it will trip the switch and when you throw the joystick in the
opposite direction it will trip the switch the other direction. With the switch
wired in an "X" on the outer poles it will reverse the motor when the
switch is pushed the opposite direction.
This diagram shows how the switch is wired and tripped with a servo. Use a
double pole, double throw, momentary on,
center off switch. You need a momentary on so when the servo is released
the switch will return to it's center off position. Use an "X" arm on
the servo centered with the switch so that when you throw the joystick in one
direction it will trip the switch and when you throw the joystick in the
opposite direction it will trip the switch the other direction. With the switch
wired in an "X" on the outer poles it will reverse the motor when the
switch is pushed the opposite direction.